Studio Red: daily do & draw 4/30

Watch below for a brief hello from Emily.

Dear Studio Red,

Today is Thursday.   On Thursdays, in the Studio, we used to print with a line!  Today we are inspired by Kieran and her family.  They figured out a way to print with line at home!  Today we invite you to do the same.

Love, Lauri and Emily

Below we share with you the line prints created by Kieran and her sister, Arya. 

do & draw

DO

Which materials will you use?

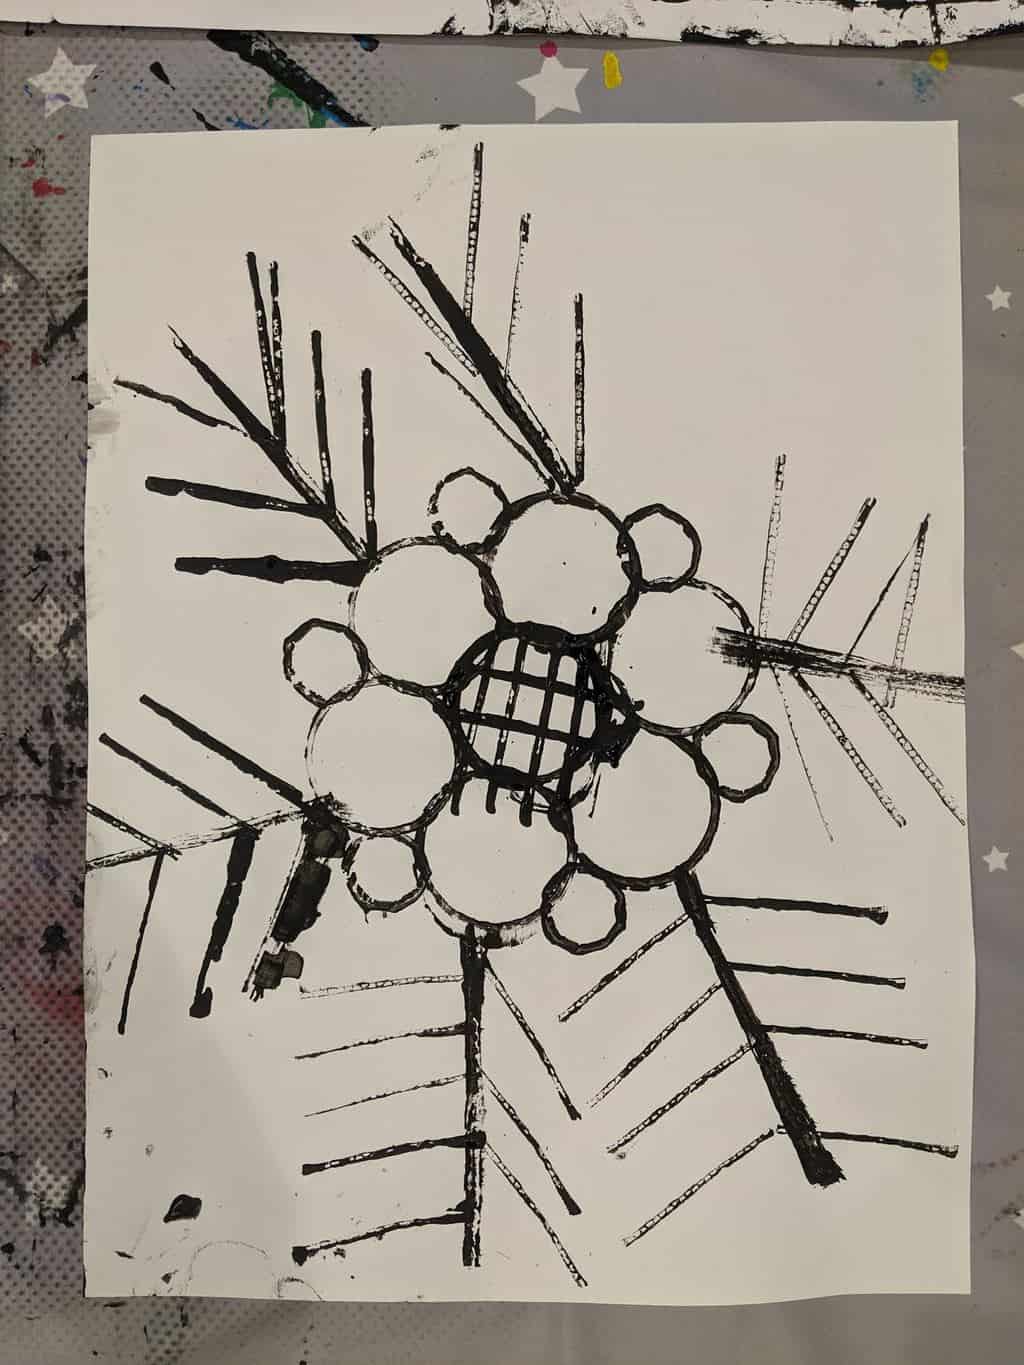
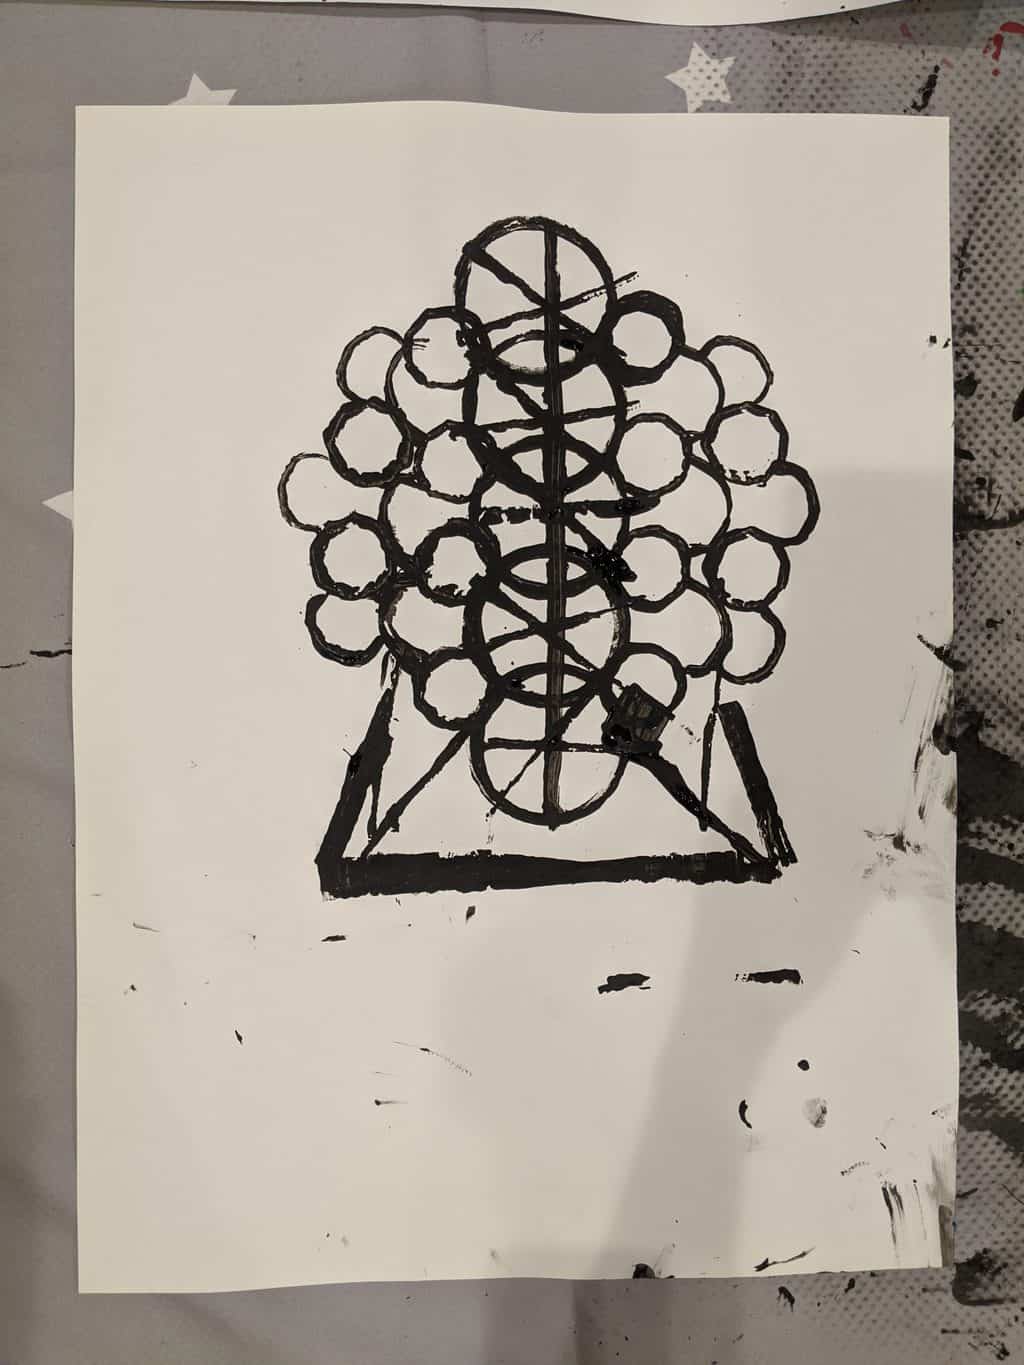
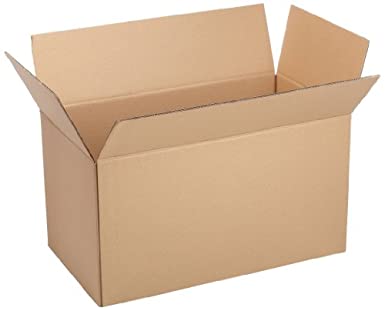
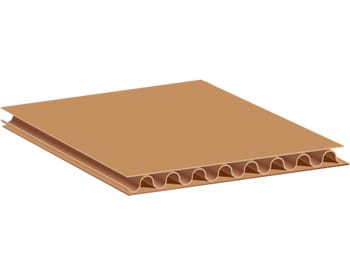
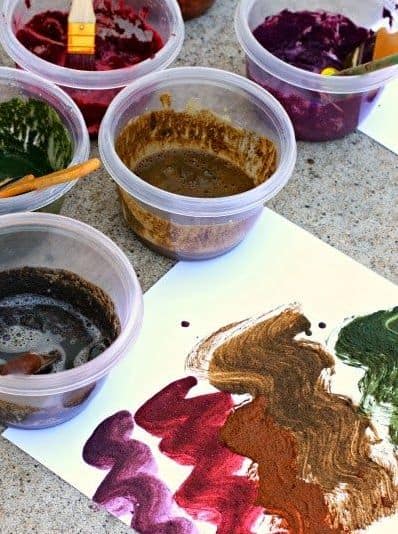
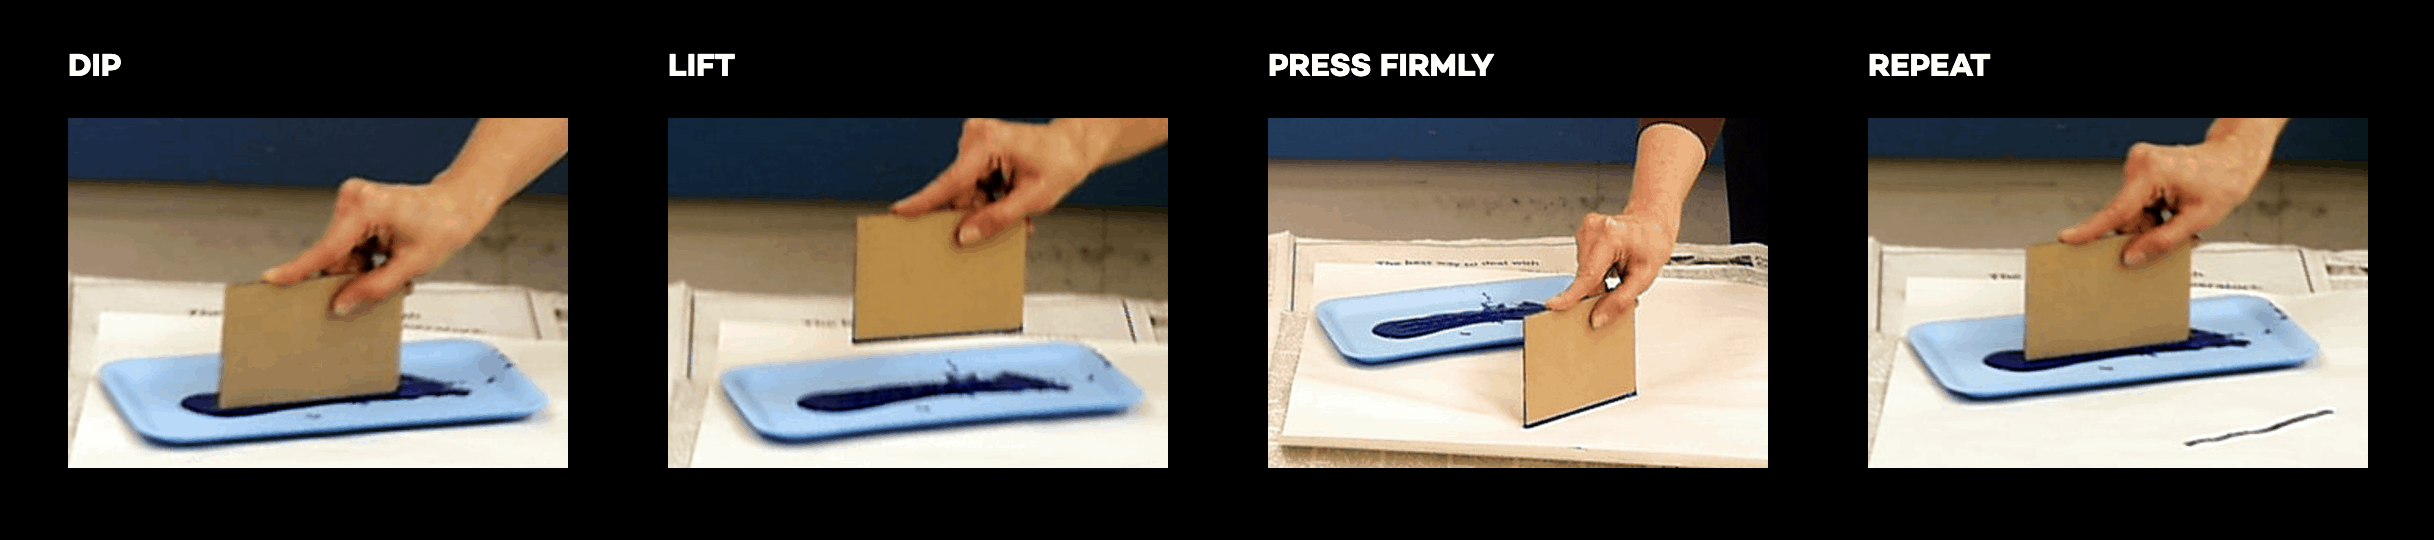
Do you remember what we used in the studio to print with a line?  We remember smocks, cardboard, trays, paint, and large pieces of paper!  Because we are not at school, we cannot use the materials we have there.  Instead, we invite you to use what you have at home!  This could be tricky, so we have given you some ideas to help you be flexible!  Your set-up will not be exactly as it was in the studio.

THE PRINTING TOOL

Cut a small rectangle from a cardboard box.  We used a piece about 2×4 inches.  it is important that the longer sides of your rectangle have the zig-zag and holes along their edges.  The longer sides are for holding and for paint!  This helps keep the cardboard strong as it gets wet! 

THE SURFACE

A large surface works best!  You may not have any large paper at home.  Do not worry!  You can attached several pieces together to make a larger piece or open up a box to print on cardboard!  If you make mud paint, you also may experiment with printing outside.

THE PAINT

You may have paint to use as paint!  Or you may experiment with mud!  Messing about to get the right consistency is key.  Add an extra step and change the color if you have food coloring, liquid watercolors, or powdered tempera paint.  Below we share one mud paint RECIPE!

THE TRAY 

Of course, to print with a line you will need sometime to work like a tray.  You need something with a flat base that can hold a thin layer of paint.  Lids, plates, or even a piece of plastic or foil Can create a non-stick surface for your paint!

TO MAKE MUD PAINT…

Add a large scoop of mud to a container, then add your colored substance if desired.  No need to measure, but you may need about 1-2 tablespoons of the color.  Next add a small amount of water and a squirt of Dawn soap.  The Dawn is optional.  It helps the mud paint spread easier on paper and also helps keep clothing stain free.

A note to parents:  

Like all invitations, this idea is one to use flexibly!  Perhaps your child simply begins my mixing mud paint.  This could be the project in itself!  You might even ask you child, “How can we be inspired by these ideas to try out a new way to play?”  If they mess about in a new way, we would love to hear about it and share it back to the group to extend the inspiration and learning!

For more to explore, visit Cathy Topal’s site

DRAW

What will your line become?

You are the experts!  Can you teach your family how we print with a line in Studio Red?  You may decide to mess about and see what kinds of lines and shapes you create as you play.  You may decide to imagine an idea and try and create it.  You may try and copy an image from a book!  If you choose to try and copy, remember to think about what would be a just right challenge for you!